How to Put Edge Tape on a Pickleball Paddle: Step-by-Step
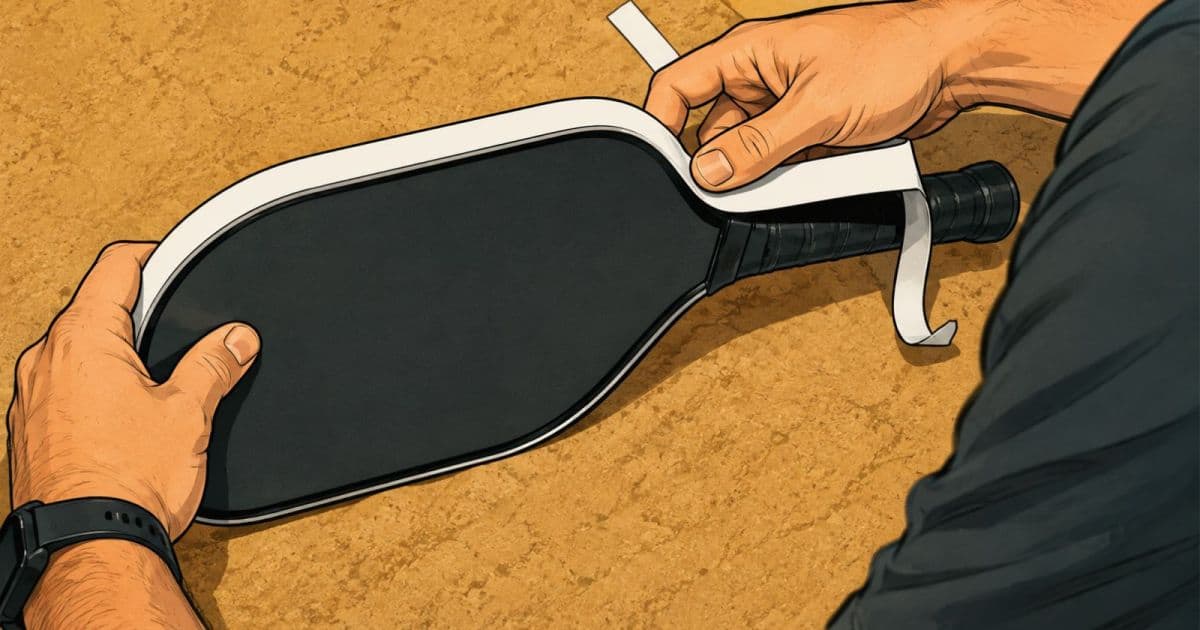
Quick Answer: To put edge tape on a pickleball paddle, remove the old guard, clean the rim with rubbing alcohol, and let it dry. Start the tape at the bottom near the handle, wrap it around the edge while smoothing out bubbles, then overlap the ends, trim the excess, and press firmly. The job takes 10 to 15 minutes.
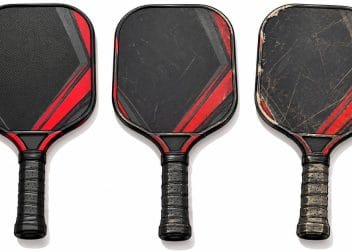
Applying edge tape is a simple DIY project that protects the paddle core and refreshes a paddle whose factory edge guard has cracked or peeled. A cracked or missing edge guard exposes the core underneath to moisture and impacts, which can speed up paddle delamination, so replacing damaged tape promptly is worth the ten minutes it takes. The job needs only the new tape, a little rubbing alcohol, and a pair of scissors.
How do you apply edge tape to a pickleball paddle?
Clean, wrap, smooth, and trim. That is the whole job in four words, but a little prep and patience make the difference between a clean result and a bubbly one.
The basic steps:
- Remove the old guard or tape. Peel it gently from one end and clean off any leftover adhesive residue.
- Clean the rim. A dry, residue-free rim is what lets new tape adhere and stay put.
- Start at the bottom, near the handle. That is where the seam ends up least visible.
- Wrap around the edge. Keep the tape centered and smooth out bubbles as you go.
- Overlap, trim, and press. Seal the tape firmly along the whole rim.
Prep is most of the job. Rushing the removal and cleaning step is the most common reason new tape peels early.
What’s the step-by-step process?
Working slowly around the curves keeps the tape flat, especially at the rounded corners where bubbles tend to form.
The detailed steps:
- Peel off the old edge guard or tape, starting at one end and working around the rim.
- Wipe the rim with a little rubbing alcohol on a cloth or cotton pad, then let it dry fully.
- Pick a starting point, usually the bottom of the paddle near the handle.
- Lay the new tape slowly, pressing it onto the rim and keeping it centered between the two faces.
- Ease around each corner in short sections, smoothing out air bubbles before moving to the next section.
- Overlap the tape where it meets the starting point, trim the excess with scissors, and press the entire edge firmly to seal it.
The corners are where most people struggle, since the tape tends to bunch or lift as it curves. Go slowly there, working in short sections and smoothing each one before continuing. Most players finish the whole job in about 10 to 15 minutes.
What tips make it look clean?
Patience, alignment, and a firm seal turn a passable job into one that looks close to factory work.
Tips for a clean job:
- Keep it centered so an even amount of tape sits on each face of the paddle.
- Smooth as you go and press out bubbles before they set, rather than trying to fix them later.
- Do not stretch the tape tight. Stretched tape tends to pull loose and peel within a few sessions.
- Overlap cleanly and hide the seam near the handle, where it gets the least contact.
- Press firmly at the end to seal the whole edge, running a fingernail or the edge of a coin along the seam.
If a section bubbles or drifts off center, peel it back and re-lay it rather than pressing over the problem. New tape costs little enough that redoing a section beats living with a lump.
Edge guard tape is also one of the few changes USA Pickleball allows on a certified paddle. Under Rule 3.D.6 of the 2026 rulebook, addition or replacement of edge guard tape is listed as an allowable alteration, alongside weighted tape, grip wrap, and handwritten identification markings, and Rule 3.D.7 caps decals and tape on the paddle face at 0.5 inch inside the edge guard and 1.0 inch above the top of the grip. Staying inside those limits keeps a taped-up paddle tournament legal. For more on what edge tape does and whether a paddle needs it, see the guide on edge tape for pickleball paddles.
Frequently asked questions
How do you apply edge tape to a pickleball paddle? Remove any old guard and clean the rim, start the tape at the bottom near the handle, wrap it around the edge while smoothing and centering it, overlap at the end, trim the excess, and press firmly. It takes about 10 to 15 minutes.
How do you replace the edge guard on a pickleball paddle? Peel off the old edge guard starting at one end, clean off any residue with rubbing alcohol, let the rim dry, then apply new edge tape around the rim, smoothing around the corners and sealing the overlap near the handle.
How long does it take to put edge tape on a paddle? About 10 to 15 minutes for most players, including removing the old guard and cleaning the rim. Going slowly around the corners adds a little time but gives a cleaner, bubble-free result.
Do you need to clean the paddle before applying edge tape? Yes. Cleaning the rim, ideally with a little rubbing alcohol, removes residue so the new tape adheres well and stays put. Skipping this step is the most common reason edge tape peels early.
How do you keep edge tape from bubbling? Apply it slowly and smooth as you go, especially around the curved corners. Do not stretch the tape tight, and if a section bubbles, peel it back and re-lay it rather than pressing over the bubble.
Where do you start applying edge tape? Usually at the bottom of the paddle near the handle, so the seam where the ends overlap sits in a low-visibility spot. Work around the rim from there, keeping the tape centered.
Is it legal to add edge tape under the rules? Yes. Rule 3.D.6 of the rulebook lists addition or replacement of edge guard tape as one of the few alterations allowed on a certified paddle. Rule 3.D.7 limits tape and decals to 0.5 inch inside the edge guard and 1.0 inch above the grip, so staying within those margins keeps the paddle tournament legal.
Applying edge tape is a quick DIY job once the rim is clean and the corners get worked slowly. For paddle shops, demo days, and other gear resources, visit the Pickleball Gear & Accessories directory.
Written by the Pickler Junction Team.